

Microsoft delivered the first Windows 11 Preview build to the beta channel a few days ago. If you signed up for the Windows Insider program and choose the Beta Channel, you’ll get a free update to Windows 11. If you already have Windows 11, you may have noticed that the upgrade took up over 20-25GB of disc space. Many consumers have complained about the low disc space on the drive where they installed the upgrade. (How to Free Up Disk Space After Upgrading to Windows 11)
And if you’re having trouble with little disc space after upgrading to Windows 11, you’ve come to the right place. We’ll go through a couple of the greatest ways to free up disc space on Windows 11 in this article.
How to Free Up Disk Space after a Windows 11 Upgrade
Please keep in mind that the approaches require you to delete the Windows. old file before proceeding. That implies you won’t be able to revert to Windows 10 if you follow these methods. Let’s get this party started.
Method 1: Delete Junk Files Using Windows Options
To clean out the garbage files, we will use the Windows 11 Settings in this manner. Take the actions outlined below.
- Go to the Windows 11 start menu and select ‘Settings.’
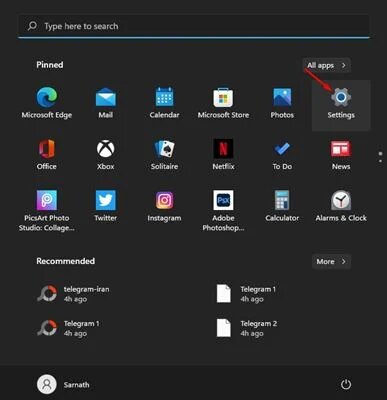
- Select the ‘System‘option in the Settings app.
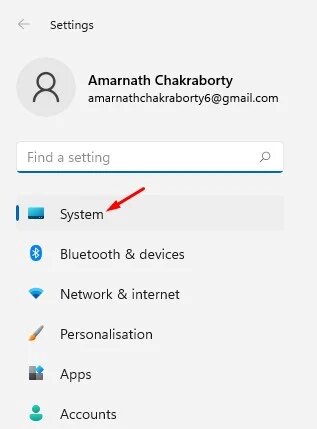
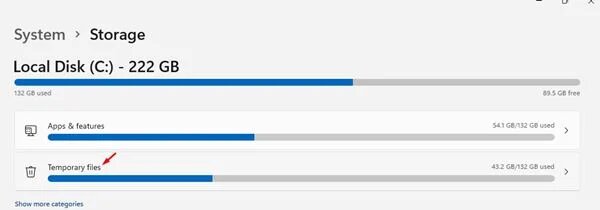
- Select ‘Storage‘from the right pane.
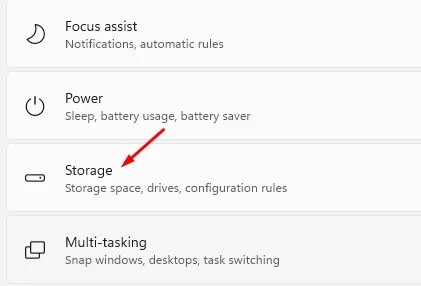
- Select the ‘Temporary Files’ option on the next screen.
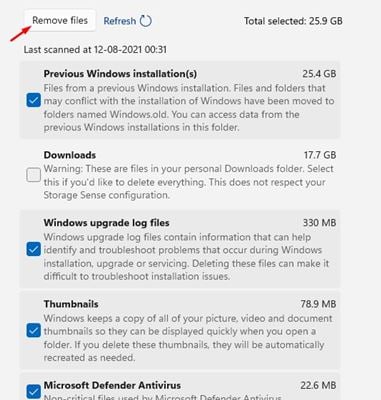
- Select all options in the next window. Uncheck the ‘Downloads‘ box if you have crucial items in the Download folder.


Important: This will also remove the files from the prior Windows installation. You won’t be able to revert to an earlier version.
- When you’re finished, click the ‘Remove Files’ button.

That concludes our discussion. You’ve completed your task. This is how you can free up disc space on a machine running Windows 11.
Method 2: Making Use of the Disk Clean-up Tool
On Windows 11, you can also use the Disk Clean-up software to clear up disc space. You can do so by following the easy procedures outlined below.
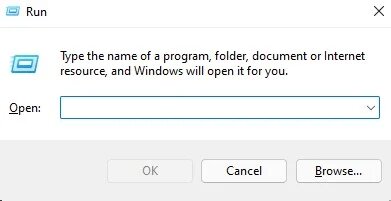
- To begin, hit the Windows Key + R keys on your keyboard. The Run dialogue box will appear.
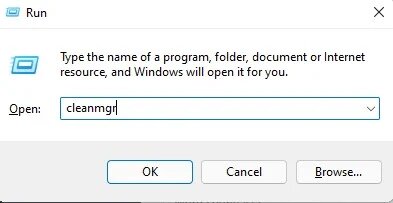
- In the Run dialogue box, type “cleanmgr” and press Enter.
- You will now be prompted to choose which drive you want to clean up. Simply choose the New Volume (C:) and press the ‘Ok‘ button.

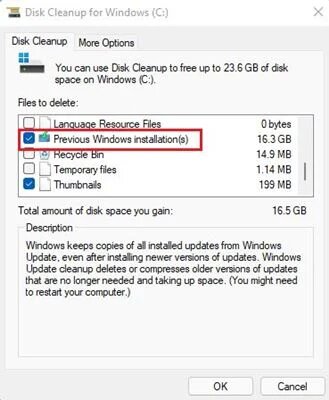
- Scroll down to the ‘Previous Windows Installation’ and ‘Windows Update Clean-up’ options on the Disk Clean-up pop-up. When you’re finished, click the ‘Ok’ button.


That concludes our discussion. You’ve completed your task. This is how you can free up disc space on a machine running Windows 11.
Conclusion:
Finally, this article will show you how to free up disc space on a Windows 11 machine. I hope you found this material useful! Don’t forget to share this with your friends and other people. You can contact us for further queries. Until the next time. Goodbye!