

Dropping the pin is an effective and quick way on Google Maps that you’ll find beneficial. We’ll show you how to use this strategy on your PC or on your mobile device.
Using Google Maps on a mobile device to drop pins
Google Maps’ most recent update has made it much easier to drop a pin from the search box – in fact, it now does so automatically, whether you want it or not. It implies that if you’re looking for a specific address, you’d like a pin dropped there. When you utilize the search box to look up an address, you can expect a pin to be instantly inserted there. If you use the map interface instead of the search box to find a location, you must still tap and hold.
- On your iPhone or Android phone, open the Google Maps app.
- Use the search box to look for an address, or scroll around the map until you discover the location where you want to set a pin.
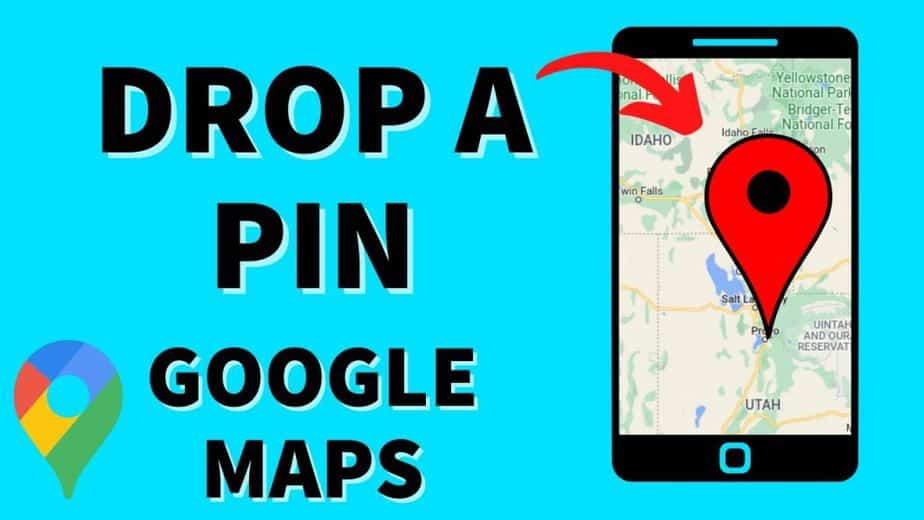
- To drop a pin, press and hold the screen. All that’s required is a gentle touch.
- Tap the pin for directions to that area, which you may then share or save.
- To remove a pin, simply pinch out, and a box with an X on the right side appears at the top stating Dropped Pin or the Specific Location. The pin is removed by tapping that X.
Using a computer to drop pins in Google Maps
- Go to the Google Maps webpage in step one.
- Use the search bar in the upper left corner of the screen to look for an address, or scroll around the map until you discover the location where you want to set a pin. The search bar places a pin in the location you searched. There’s nothing else you need to do.
- Left-click the location where you want the pin to be dropped. If there is already a marker where you want to set a pin, you may need to zoom in or click slightly to either side of the location you want to drop a pin. At the bottom right of the screen, a small grey pin will show, as well as an information box.
- You can get directions to the dropped pin by pressing the navigation symbol in the info box, or you can click anywhere else in the box to get more information about the area you’ve selected by clicking anywhere else in the box.
- Click Save to save the pin to Your Favorites, Want to Go, Starred Places, or a New List from the further information screen. Saved pins can be found in the main menu under Your Places.
Creating a desktop map and dropping several pins
You can store each of your pins in the Your Places file if you want to see them all at once. However, Google Maps only allows you to see one pinned location per map, so you won’t be able to see all of your pins on one map. You’ll have to create your own map if you want to publish all of your pins on one map.
Making your own map allows you to see the numerous pins in a more simplified manner while also demonstrating how they are geographically related. This is very useful for determining the distance and relationship between each of your favorite pinned locations. We’ve described some simple steps below to show you how to make your own Google Map.
Steps To Put Pin On Google Maps
- Go to the Google Maps webpage
- You do not need to be logged in to your Google account to leave individual pins. However, if you want to save the pins, you must be logged in. When you wish to make a Google map, you must also sign in to your account.
- In the top left corner of your screen, tap the menu symbol.
- Next, go to Your Places, then Map, and finally, Create Map. A new window will pop up, displaying your newly customized Google map.
- If desired, click Untitled Map to give your map a proper name and a brief description. When you’re finished, don’t forget to click Save.
- By touching on the marker symbol, you can record an exact position (this is located right beneath the search bar). You can either press a specific region to add a marker for that location, or you can use the search box to find it by typing in your desired location.
- In the icon bar beneath your first destination’s description, click the Add Directions icon. It should appear next to the first marker at the top of the screen. You’ll see an A field and a B field in the bottom left corner of the page once you’ve finished this step. You may rapidly conduct a location search from here, and utilize the side menu to add other destinations. Your map will instantly link to the sites, as you can see.
- If you’re simply going to use this map for personal reasons, this is the last step you’ll need to take. There isn’t anything further that has to be done. If you wish to share your map with someone else, though, you’ll need to click the symbol in the top left corner.
Conclusion:
So these are some methods and steps to easily drop a pin on Google Maps. You can use these methods to add pins on Maps on different devices. You can ask us if finding any difficulty following these steps. Goodbye!